A process for improving crop survival by implementing a series of steps in the planting process of stage III tissue culture. This is a visual and technical point of view based on observations and processes implemented in a work environment.
Written and Illustrated by Erasmo Giron – Updated December 11, 2023
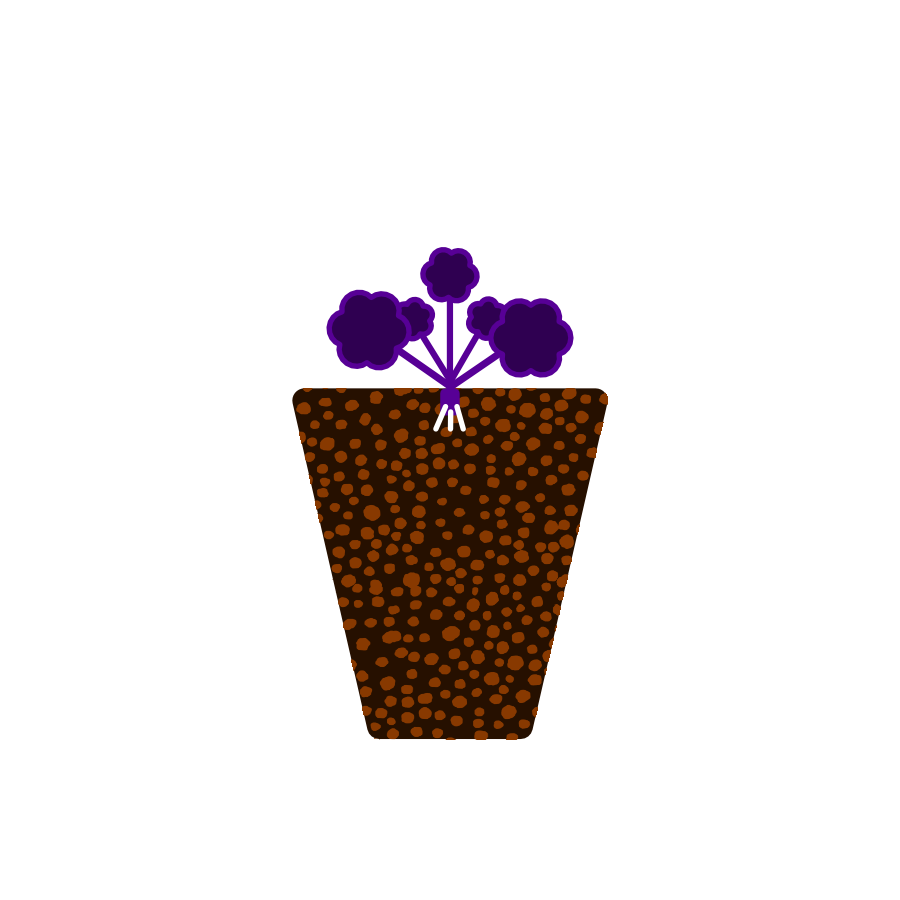
Grading
Identifying and grading crops.
- Identify contamination
- Grade based on size
- Prioritize based on shelf life
- Create trials
Media
Quality of planting media.
- Mix consistency
- Moisture content
- Contamination
- Damage
Planting
Best practices.
- Verify crop and labels
- Plant based on size, rooting
- Use appropriate planting technique
- Apply mist cycles
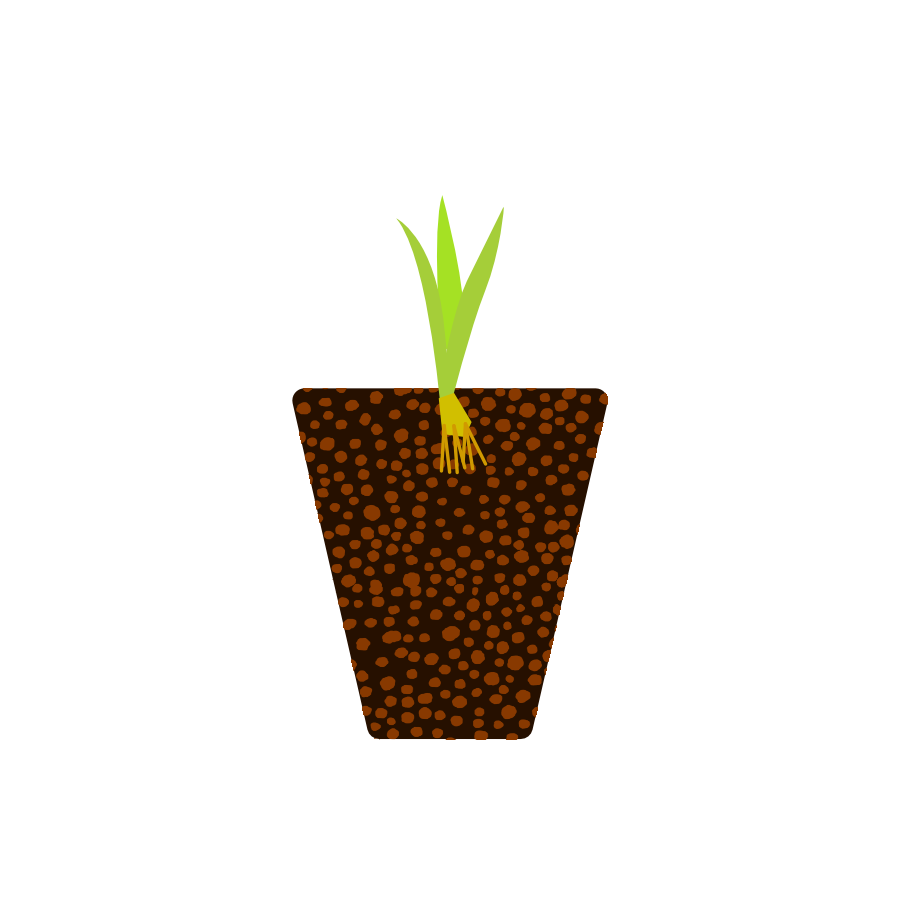
Tissue Culture & Grading
Stage III tissue culture will likely be in a lab environment under artificial light or in transport from the lab prior to planting. Going from a lab environment to a greenhouse environment will require a period of acclimating. Whenever possible stage crops in the greenhouse environment one day ahead of the plating schedule.
The planting team must pay close attention and be careful when planting crops. Growers will have to set up a controlled environment (humidity and temperature control) to prevent wilting, desiccation or root rot from over-watering. The most common factors observed contributing to crop failures were; not misting during planting, incorrect planting techniques, leaving newly planted crops uncovered or without mist, and excessive venting or venting without mist cycles after planting (in covered benches).
Stage III tissue culture is often in a media that has slowed shoot production and is primarily focused on root production. And so, it’s important to grade crops in order to maximize the survival rate and plan for future crop cycles. Factors such as contamination, excessive moisture in containers, damaged containers, plantlet size, and rooting stage are factors to consider. Documenting all of these factors for future reference will aid in foolproofing procedures.
Separate the contaminated crops from healthy crops. If possible and visually discernible separate based on size and rooting stage. Any crops with inconsistent root or foliage development will require special care. Separate crops by type of contaminant such as mold, bacteria, and fungi which are commonly found in media. Another form of contamination is viral contamination which is harder to detect visually. This guide focuses on what is visually discernible.
Discard heavily contaminated tissue culture containers that have compromised the health of the crop. Set up a trial if contamination has not compromised a crop’s health. Separating containers based on contamination helps to keep planting equipment and work spaces sterile. It is also helpful to separate crops in the greenhouse environment to dial in care by the grower. As a rule of thumb, it is best practice to plant contaminated, or older (shelf-life) crops first to improve survival rates.
Stage the crops for planting. Prioritize based on shelf life, level of contamination, and greenhouse space. Set up any trials to monitor crops throughout their growing cycle. It is best to reserve benches in the greenhouse environment solely dedicated for crop trials and developing a successful process for struggling crops. Certain crops in the same family will often require different care based on factors such as; shoot growth, foliage density, foliage characteristics and rooting stage.
The Importance of your media
Media tends to be inconsistently mixed. There may be unevenly mixed ingredients and settling that occurs during the filling stage of media trays. Be sure to review media for consistency in its mix quality and moisture level necessary for crops. Media trays should have even moisture throughout. Any unevenness will result in crop failure and make the grower’s job harder. The ideal media should allow for added misting cycles and venting and not be overly saturated to prevent root rot, algae, and fungi.
Common media points to look for.
- Damaged plug trays
- Poor drainage in media trays
- Visible algae or fungi
- Inconsistent mix (crumbles, too compacted, etc.)
- Media is too dry (bring up to an appropriate level)
- Media is too wet (set aside to dry up)
- Keep media trays covered to prevent them from drying out
Media moisture saturation


Planting
It takes time and dedication to plant tissue culture correctly and efficiently. On average, it may take up to but no more than six months to establish great planting habits resulting in high survival rates. After a year of practice, the planting hand will develop the muscle memory necessary to plant most crops efficiently. Likewise, if bad habits are established in planting, implementing the planting techniques described below is the best way to correct such habits. Fully adopting the planting techniques without deviating will help re-establish muscle memory.
Start slow and learn to use the planting tools effectively. Take time to learn and distinguish crop characteristics. Start by planting easy crops with pliable root areas and established shoots. Their apical node/lead/center is high enough to avoid planting too deep. Root initials are not longer than 12mm. The root area easily fits in the forceps tip for placing into media.
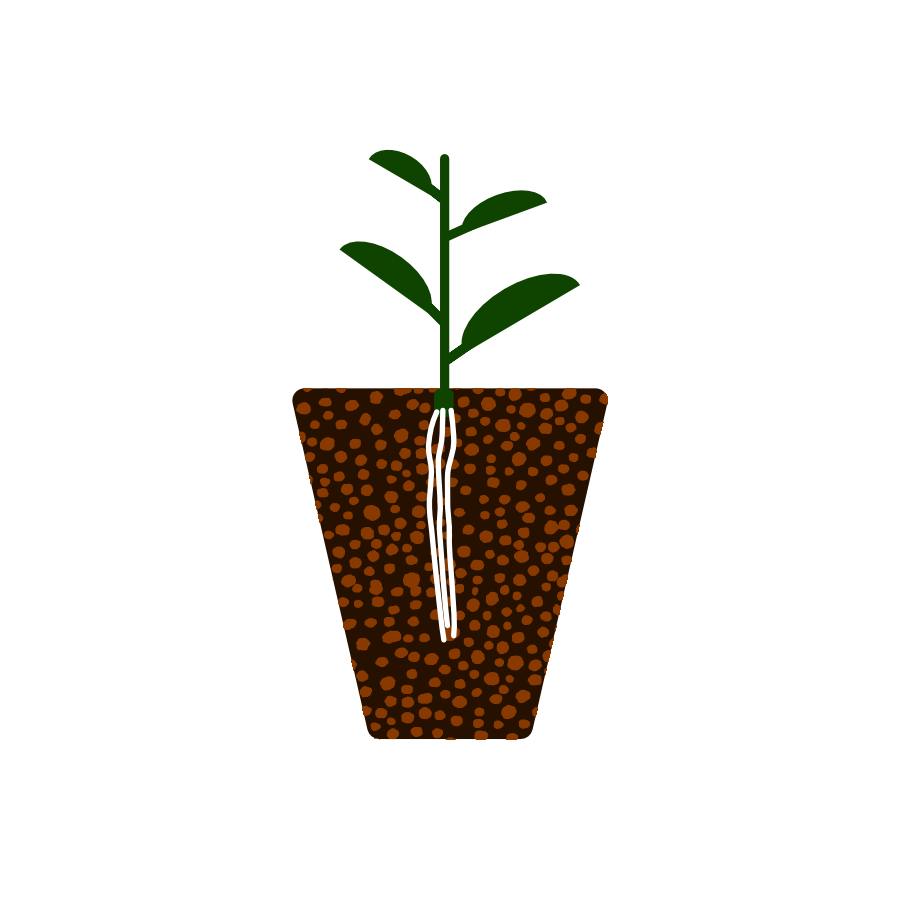
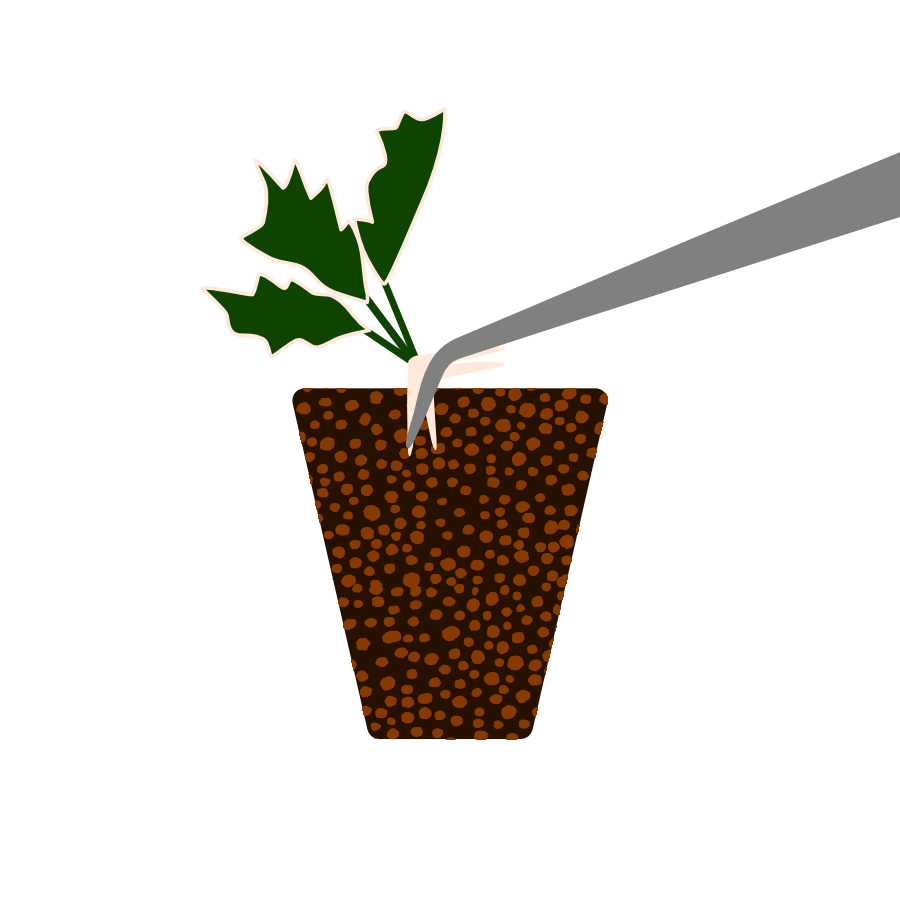
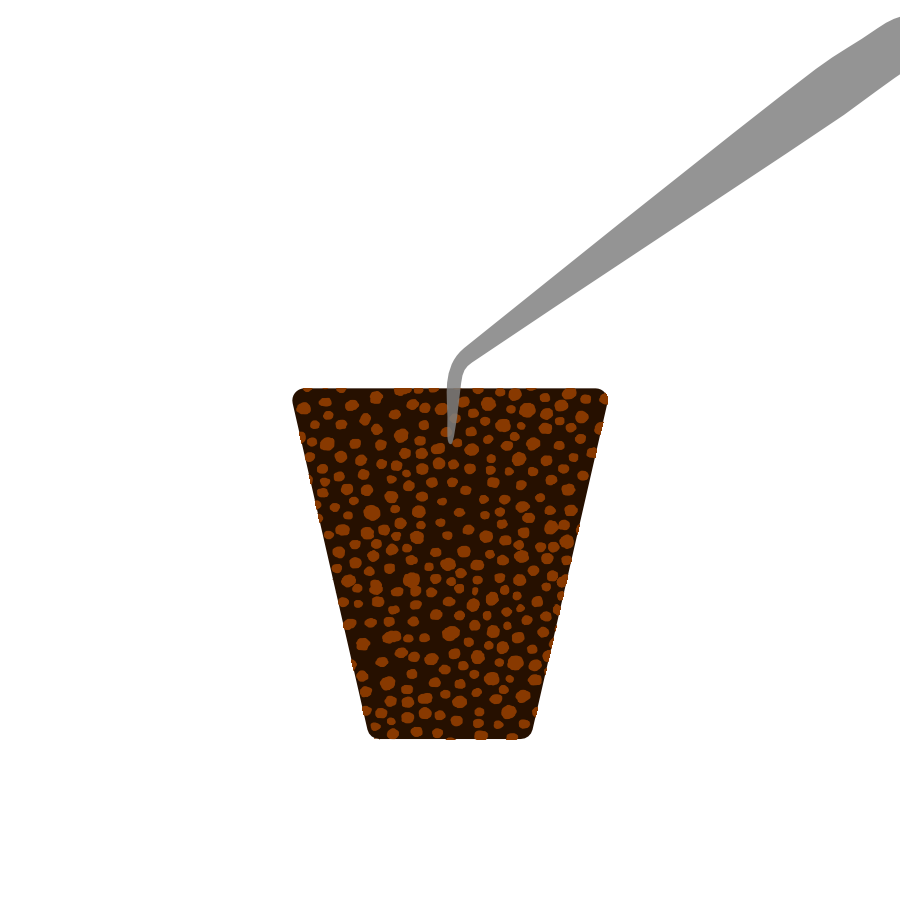
This guide focuses on the use of forceps for planting. Utilize forceps with a tip measuring 15mm and a tip taper of 2.5mm to 1.5mm. Understanding how to use forceps for planting tissue culture is crucial. Limit pressure application to prevent severing of plantlet stems or rooting areas. Improper placement on forceps can damage plantlets and leave roots or rooting areas exposed above the media level. Plantlets can be set too deep or too loose in the media. Notice the angle of the tip in the illustration. Plantlets should rest parallel by matching the forceps tip. The plantlet can be shifted up or down but never extend below the forceps tip.

Keys to Success
- Sterilize your planting tools
- Re-examine crops
- Label media trays and double-check the crop to be planted
- Apply mist after opening the tissue culture container
- Plant contaminated crops first (create trials)
- Plant by size and rooting stage
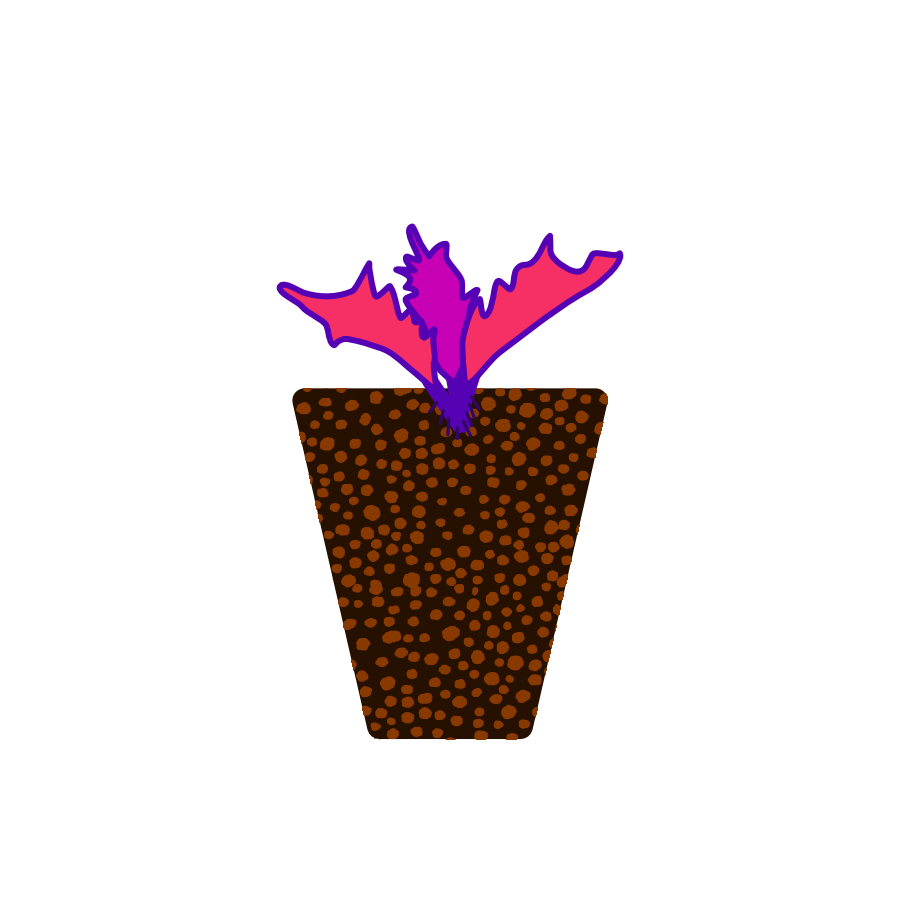
- Plant to the crown deep (rooting area and roots below media line)
- Minimize damaging root initials
- Minimize damaging apical buds, leads/centers
- Avoid having foliage from coming into contact with media
- Continue to apply mist to avoid wilting
- Compact any media that is loose from forceps manipulation
- Review work and correct any mistakes
- Get finished flats under covered benches with controlled misting
Plantlets that have damaged root areas or stems will fail. Leaving root areas exposed above media will lead to the plantlet wilting and desiccating or will root poorly and be prone to root rot in later stages. Plantlets set loose in media may separate from media during misting, chemical applications under pressure, or drenching applications and will likely fail.
Planting Techniques
This section covers a detailed and visual representation of the planting techniques. Implementing these methods of planting tissue culture and not deviating will help increase the survival rate of crops. A mortality percentage at or below 10% was observed while practicing the following techniques. The techniques help decrease mortality rates among contaminated crops with brittle root initials, roots prone to breaking independent of contamination, or roots developed beyond 12mm. Dibbling media may be required depending on the crop root characteristics. Dibble media on-center but no greater than half the root length of plantlets.
Long root initials
Planting crops with long root initials is very difficult and time-consuming. It is best practice to avoid trimming roots and potentially contaminating crops or trimming roots too short. If root trimming is required, only trim to 20mm in length. The trim length is sufficient to anchor plantlets with shoots between 40-60mm long. There is an added risk of the plantlet becoming loose in the media when trimming shorter than 20mm. Note that root pruning can have the negative effect of slowing down vegetative growth, which is crucial to the crop’s survival based on the fact that it is coming from a lab environment. The generartion of new foilage is very important for rooting and shoot production. Avoid trimming roots of crops with contamination or with a large concentration of brown leaves.
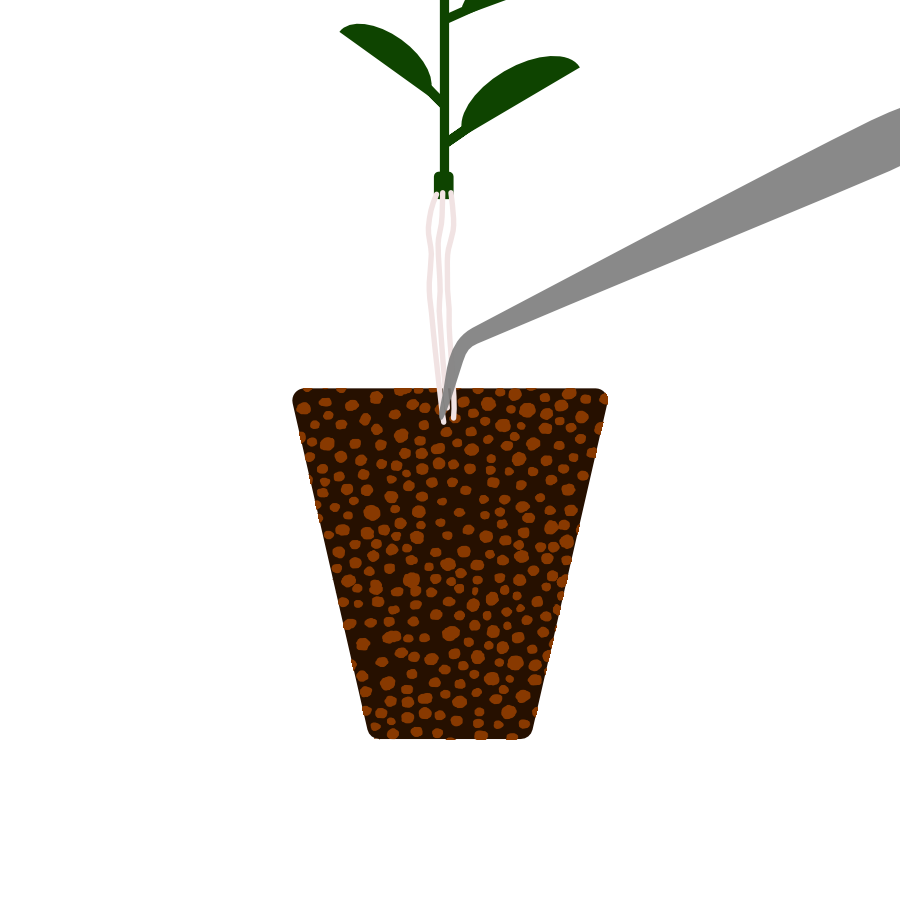
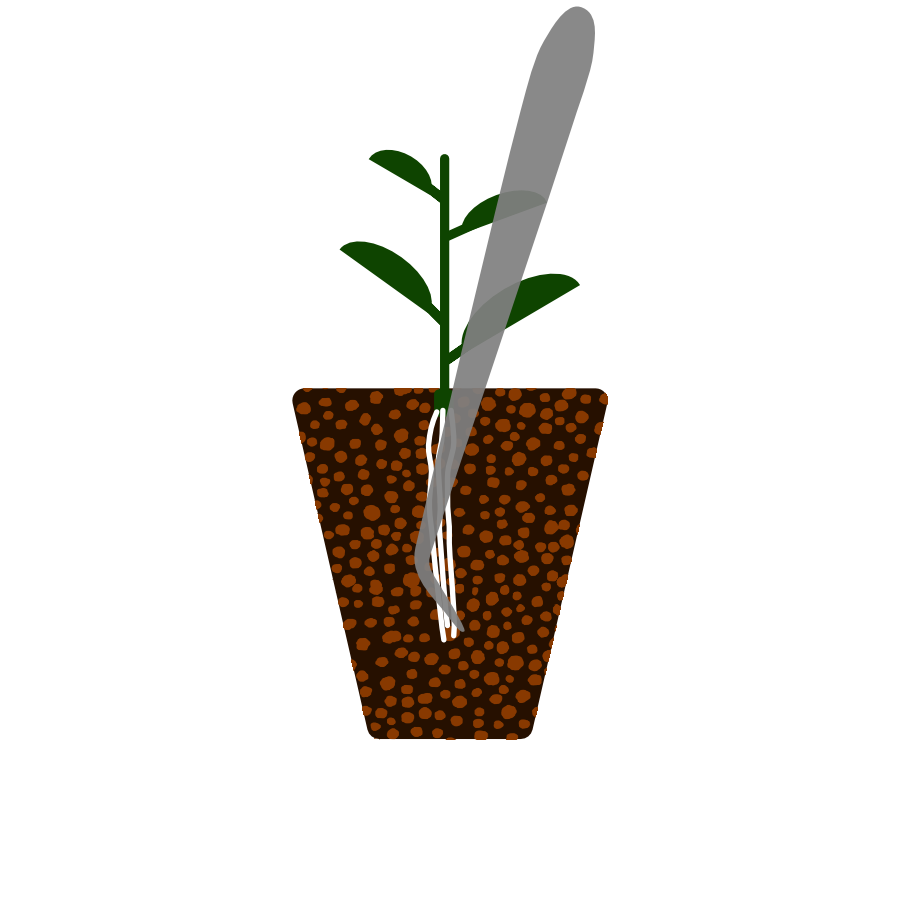
With forceps, grip roots in a group 5-7mm from the ends. With the opposite hand gently hold the plantlet upright and create light resistance between the planting hand and plantlet. Slowly drive forceps into the media. Continue to drive forceps into the media while holding the plantlet and maintaining light resistance until fully covering the root area at the crown of the plantlet. The created resistance allows for securing the plantlet in the media. While holding down the plantlet at its base, pull the forceps in an up-and-out motion without fully releasing the tension created to hold the root group. This action helps anchor the root group in place. It also prevents the media and plantlet from becoming loose.
Anchoring method
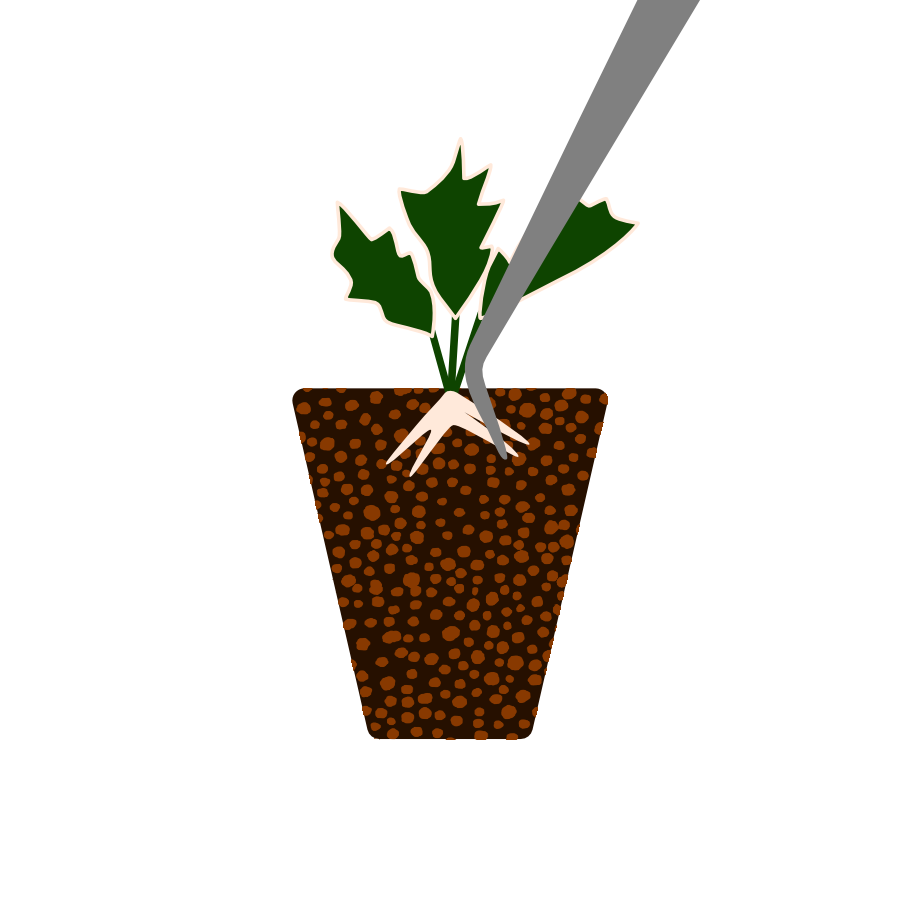
It is best to apply this method for planting crops with wide roots that are not pliable or are prone to breaking. Crops with brittle roots at planting require more attention. Use forceps to cover as many initial roots, and set the plantlet into the media. Allow for the forceps tip to dig into the planting media. If a secondary action is required to get additional root initials below the media line, use forceps to cover exposed root initials and anchor in the opposite direction to the previous root group while holding the plantlet. This action secures the plantlet to media and anchors it to prevent it from becoming loose in mist, chemical, and drench applications. The key is getting the most root initials below the media line to improve survival rates.
Short shoot/low apical bud or no root initials
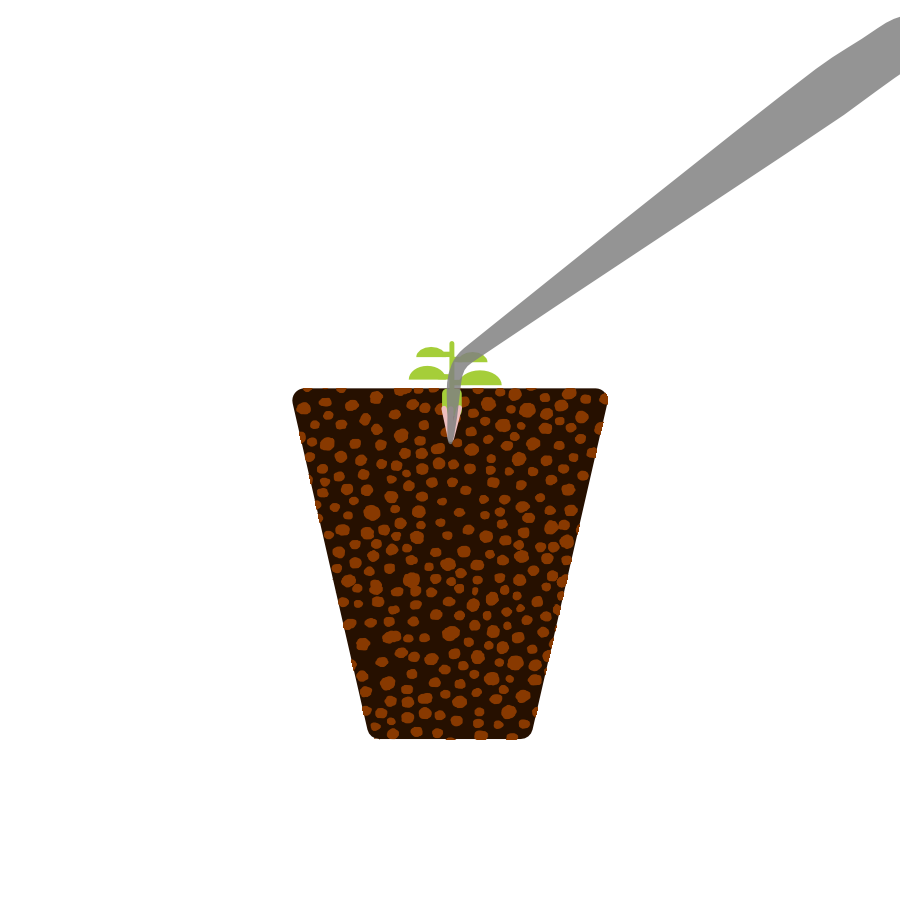
Short shoots and low apical node/lead/center contribute to a higher percentage of crop failures. For best practice, use a forceps with a tip shorter than 10mm. The tapering should be 2.5mm to 1mm with a pointed end. It is crucial to place the rooting area of the plantlet within the tip of the forceps and allow the forceps to dig into the media. Hold the plantlet on the side to pull forceps out of the planting media. This action ensures the plantlet remains anchored in the media. Never place any pressure on top of the plantlet because this action can harm the apical bud/lead/center and delay the development of the plantlet.
Notice the angle of the tip in the illustration. It is parallel to shoot/center/lead. This action alone will contribute to successful planting and reduce damage to plantlets. The plantlet sits securely in forceps. Any upward force is absorbed by the tip of the forceps when setting the plantlet in the media. The plantlet can be anchored at the right height as there is absolute vertical control. Adjust placement in forceps tip based on root length. This action ensures planting at the crown and helps anchor roots into planting media.
Key points look for if the angle does not match the illustration.
- The plantlet may be damaged.
- The media may be excessively disturbed.
- The plantlet may lay angled compromising foliage and roots.
- Foliage may come into contact with soil and lead to rot.
- Roots exposed to the elements will desiccate.
Large callous/root area
For crops exhibiting a large callous or root area, use an awl, stick, or the forceps tip to dibble just enough to anchor plantlets. Dibbling deep can lead to planting too deep or setting plantlets loose in the media. The plantlet may be damaged or severed if the planting media is not pre-dibbled.
Dibble to anchor plantlets that have the following characteristics.
- Soft or brittle foilage
- Brittle root initials
- Long root initials or large root areas
This is the end of the guide. It was written from observations and in-field practice.
